12 tips to take photos like a Pro
01. Know your camera
Cameras can be likened to riding a horse or driving a car. The same theory, but all have their own idiosyncrasies. Master your reaction speed to how quickly your camera takes a photo. Eg. If you are trying to get that special moment in an action shot, try looking for a cue to when to take the photo. If you moment is too soon, then try again, but later and so forth. By mastering, this will greatly improve your action photos.
02. What is ISO
Understanding what is ISO and how that can help or hurt your images. ISO comes from the days of film. It is how the camera is processing the information (image) or sensitivity to light. A low ISO (100-200) will produce a sharp image, but won’t compensate as well for cloudy or dark conditions. A high ISO (400 and higher) will compensate for low light conditions, put the photos will appear grainier (dots to create the image – like grain on it, hence the term grainier).
03. Aperture or ‘f-stop’

What is Aperture or ‘f-stop’ and how can it affect your images. Aperture is the size of the opening (of the shutter) in the lens when the photo is taken. The size of the aperture is referred to as the ‘f-stop’ and larger numbers indicate a smaller opening. The larger the opening, the smaller the area of the image that you are taking will be in focus. This is how you can get those photos with the background out of focus. The smaller the number, the larger it opens, and the larger of the area that is in focus. This can be helpful for action shots when the horse is moving fast and gives you more room to get the horse in focus. The lens you have will dictate to the degree to which this can be done.
04. Shutter Speed

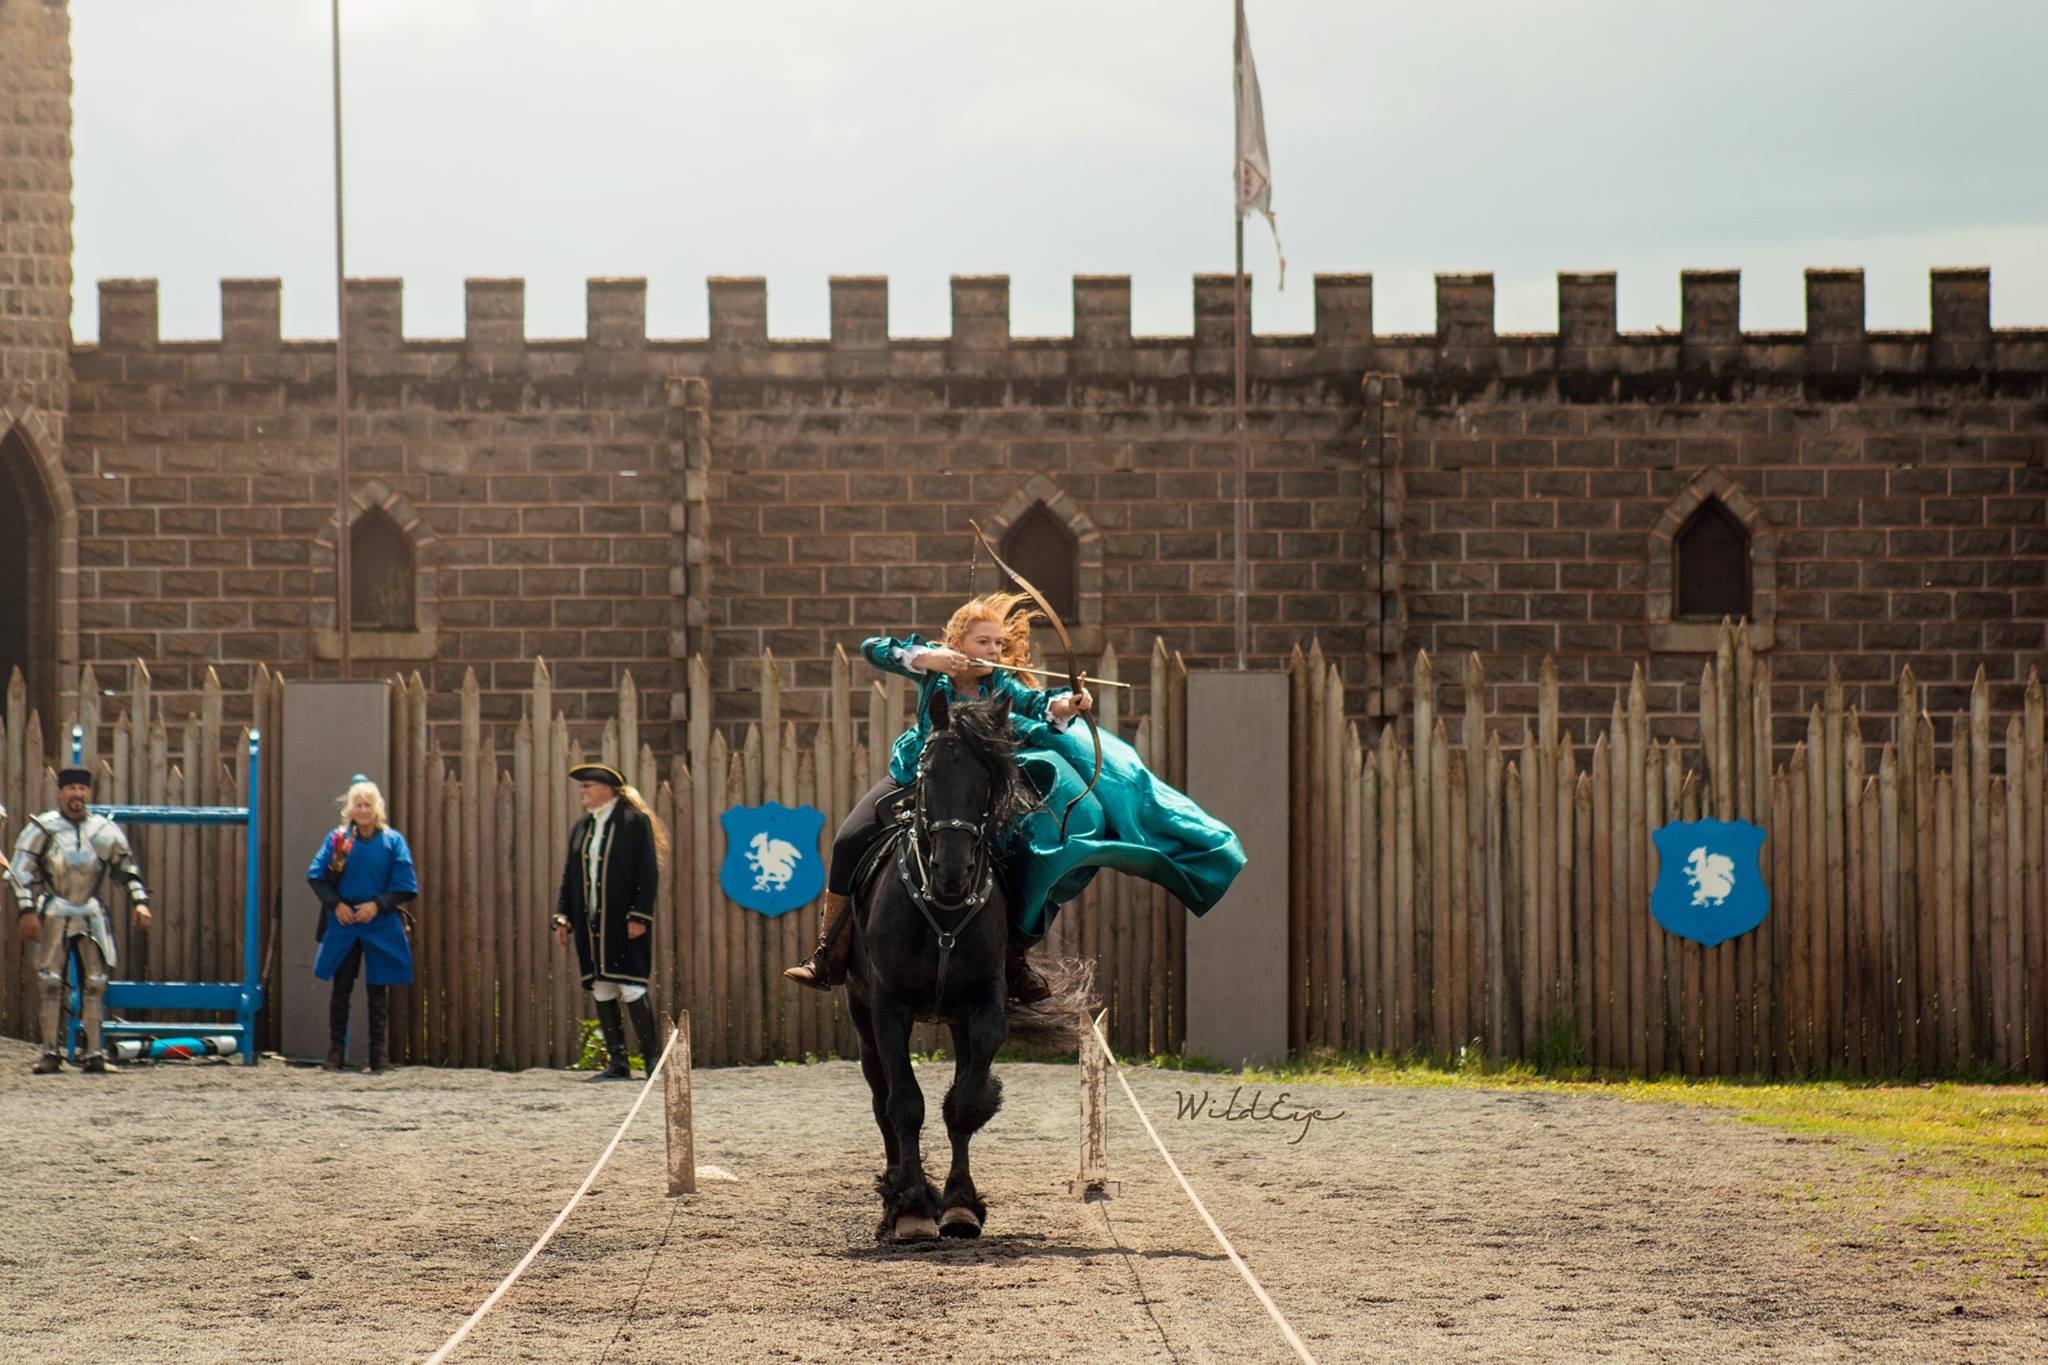
What is the “Shutter Speed” and what can that do? Shutter speed is how fast or slow the shutter open and closes to let the light in. For action shots, you’ll need a fast shutter speed as if it is too slow you’ll get movement in the photo. For example if you’re trying to photograph a moving horse and the shutter is too slow (meaning its open too long and letting longer light in) you wont freeze the action. You’ll get a blurry horse, however this can also make for artistic photos if you follow the horse with your camera. When done right the horse will be sharp and the background will have movement in it. The range of how fast and slow the shutter opens is dictated by the camera.
05. Digital Zoom
What is digital zoom on cameras and why you should never use it? On compact cameras is where this comes into place, you’ll have a normal zoom areas, and then its shows as an extra zoom – this is digital zoom. Digital zoom is a function of a digital camera used to make the image seem more close-up. Digital zoom on a digital camera works the same as cropping and enlarging a photo in a graphics program. So it isn’t really zooming in; it’s blowing up and cropping in on the already image. This distorts the pixels, and if you want to do this, you are best to crop the photo afterwards.
06. The Rule of Thirds
The rule of thirds is a powerful compositional technique for making photos more interesting and dynamic. The rule of thirds states that an image is most pleasing when its subjects or regions are composed along imaginary lines that divide the image into thirds (9 equal boxes)— both vertically and horizontally. It gives you eight elements to work with — four lines and four intersections. Placing points of interest along the lines or at the intersections tends to create a more interesting composition.

07. Position
Standing, sitting or lying on the ground. Try to think outside of what you normally do and explore some different angles both in the position of where you put your body, but also in zooming in or even trying a wide angle shot. With a wide angle shot.. do not stand too close to the horse, as it will distort the horse to look like he/she has a bit head and small body! Not a good look!

08. Sun
Where’s the sun? When doing equine photography generally you want the sun on the horses body, turn your subject around to get this. Try not to shoot (photograph) during the middle of the day. The sun is higher and coming from above, and when this happens you get all sorts of shadows on the horse’s coat. Obviously, if an event this can be hard to avoid, try to see if there is a way to get a more flattering light on the horse. Early mornings and late afternoons are considered in all aspects of photography as the best light. In the morning it’s a cool light – meaning it’s more of a blue crisp look, and the afternoons is a warm light, more yellow in appearance. Even though the general desire is to have the sun on the horse, don’t be afraid to get artistic and put the sun directly behind your subject. Getting them to shield the sunlight with their body. Exploring with different options of this and different angles of the sun can create a crisp look or something more artistic.
09. Background
Check your background – when taking photos, it’s easy to get carried away concentrating on your subject, making sure the ears are pricked, etc., however, do not forget the background. Keep an eye out for any posts or polls or anything that can cause a visual distraction afterwards. Cluttered or busy backgrounds detract from the horse, especially if it’s a bright colour!
10. Horses Limitations
Understanding the horses limitations. Always keep in mind that you are dealing with animals, and you may have a certain image or result you want to achieve, however, more often than not, it doesn’t happen. If you’re trying to get that flash trot shot and the horse is tired, you’re just not going to get it. There is no point putting a horse into a stressful situation as it will show in the photos, and let’s face it, isn’t very fair on the horse.
11. Body Language
It is always more pleasing to see a happy, relaxed horse in an image. Knowing the horses body language can help you with this. A cranky horse with its ears back or whites of the eyes showing isn’t a good look. Keep an eye out on the bit too if you can! If the rider is too heavy in their hands, this can show and effect the final image. I’d suggest getting the rider to do something different to relax the horse and situation.


12. Standard Shots First
Get the standard shots first. If you’re off to do a session of your horse or someone else’s, always get the safe shots or what I call the standard shots first. Get the standing, and portrait shots first as if you plan on doing some free running or ridden the horse is going to get sweaty and not look as nice. If you want to try something artistic with your camera, e.g., lie on the ground or up in a tree, I recommend that before you do, get the standard shot first. That way it’s done, and you have it to fall back on if you run out of time you have those that will still be good. This way you avoid disappointment as you still have them at the very least. Nothing is worse if you’ve been trying to get that arty shot and it just doesn’t pan out, and you end up with very little for your efforts.
I hope these tips will help your photography.. like anything in life, rules are made to be broken, these are just guidelines to help you with your photography.
